Whole Green Moong Dal-Indian Comfort Food

Dal is an Indian staple which can be eaten in the morning, lunch, dinner as a side dish or for a snack. It can be eaten with rice, bread or on its own. Bottom line, it is Indian comfort food.
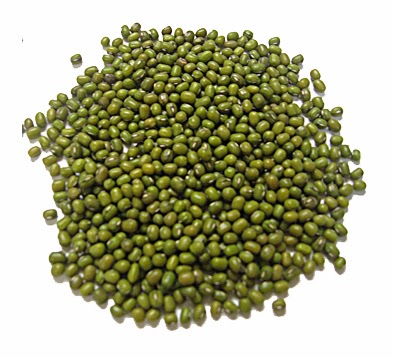
A thick stew of moong (mung) beans, spices and creamy goodness. It is often made with spilt moong dal, but I prefer to use the whole moong dal
I had eaten various types of dal in many places around the word, including India and was always impressed with its creaminess, but speaking frankly I wouldn’t have gone out of my way to make it at home. A friend kept mentioning that he was going to cook “mug” which was a recipe from his Indian friend and I finally asked what he meant and he said moong dal.
I was intrigued and after comparing many recipes from my own cookbooks and online, I came up with this recipe which is nothing short of amazing. The house smelled wonderful while it was cooking and the flavor was hearty, wholesome and a bit spicy and just perfect for a fall afternoon.

Additionally, it is vegetarian and can easily be made vegan, by just using vegan butter instead of ghee or butter.

Ingredients:

2 cups of Whole Green Moong Beans, rinsed thoroughly and then soaked overnight in 6 cups of water.
3 Tbsp Vegetable Oil
3 Tbsp Earth Balance or Ghee
2 tsp Black Mustard Seeds
10 fresh Curry Leaves, available at any Indian market
1/8  tsp Asofetida or Hing, available at any Indian market.
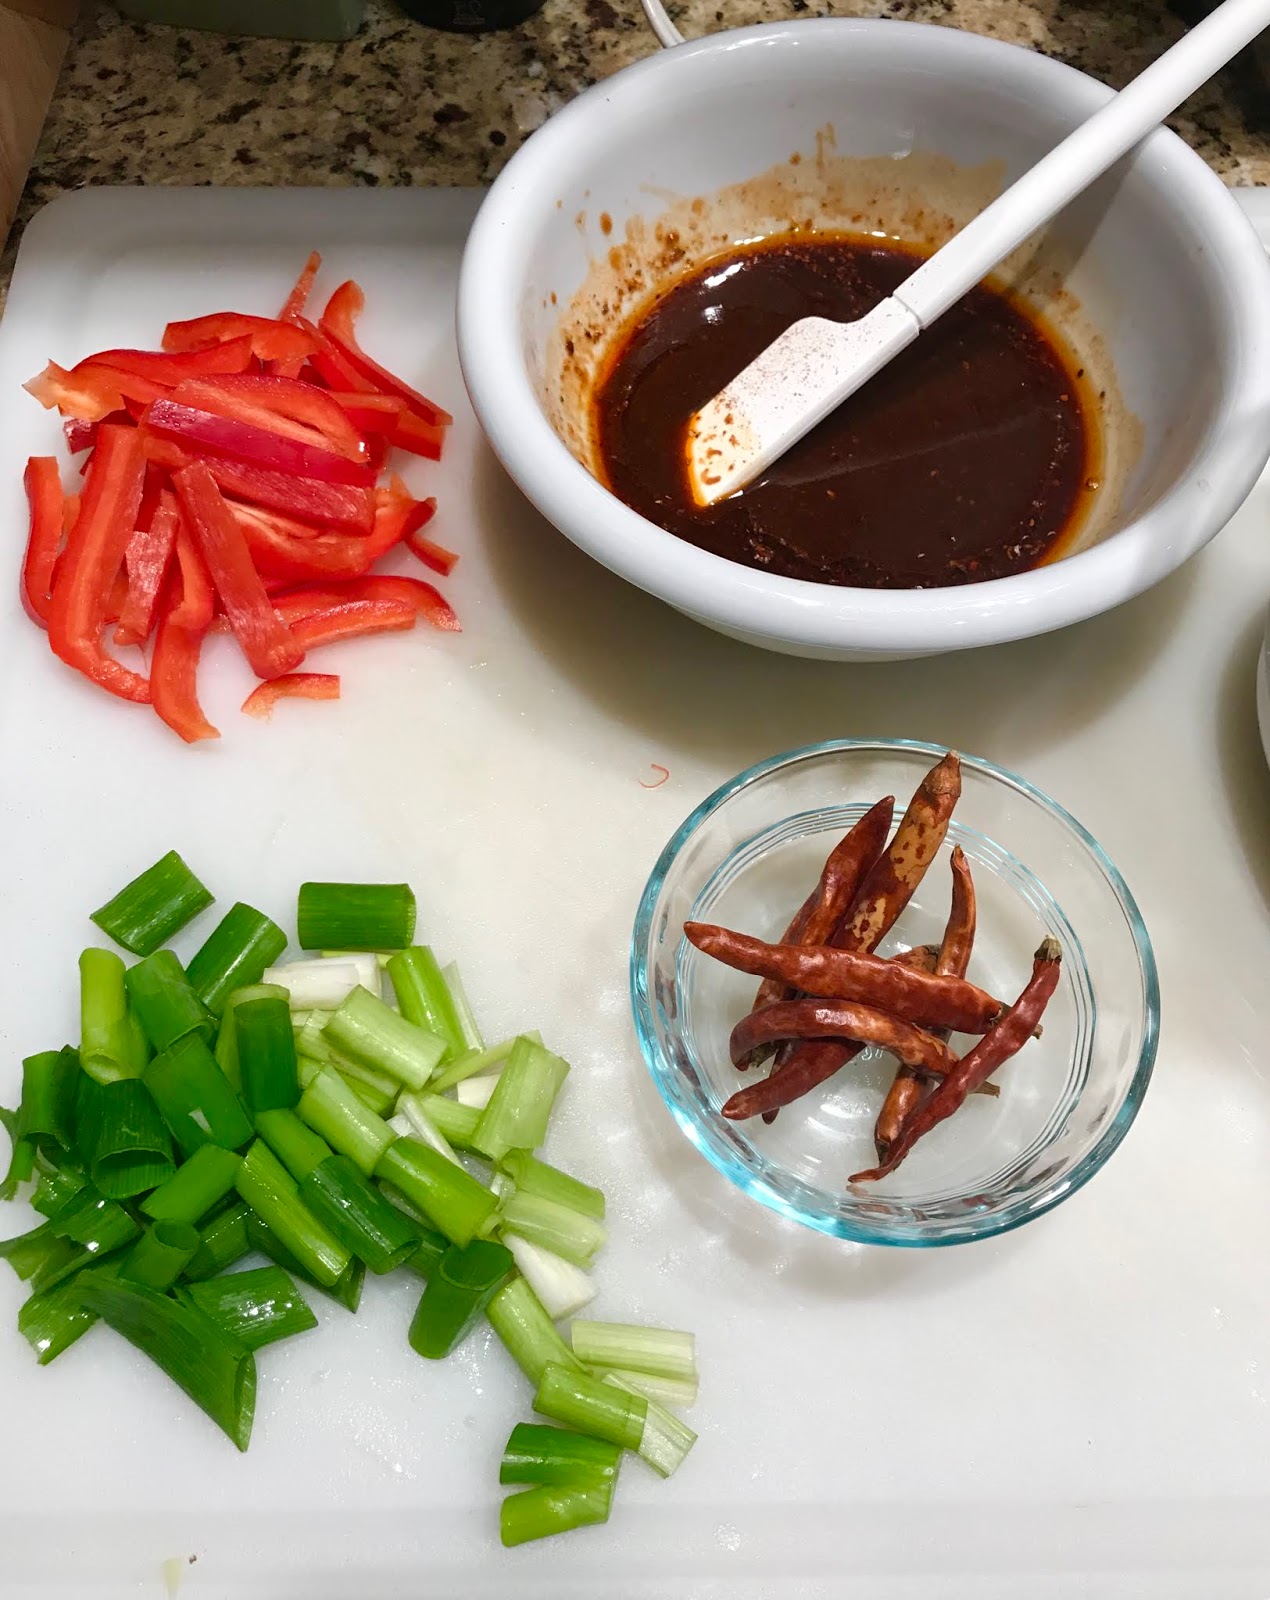
2 Dried Red Chilies, whole
1 stick of Cinnamon
½ tsp Cayenne or ground Chili Pepper

1 Tbsp Salt
2 tsp Sugar
1 large Onion, chopped and pureed
2 inch piece of Ginger, chopped and pureed
6 cloves of Garlic, pureed
1 – 14.5 oz can of diced or crushed Tomatoes
2 Tbsp Coriander Seeds, ground
2 Tbsp Cumin Seeds, ground
2 tsp Turmeric
Lemon Juice
Cilantro
Preparation:
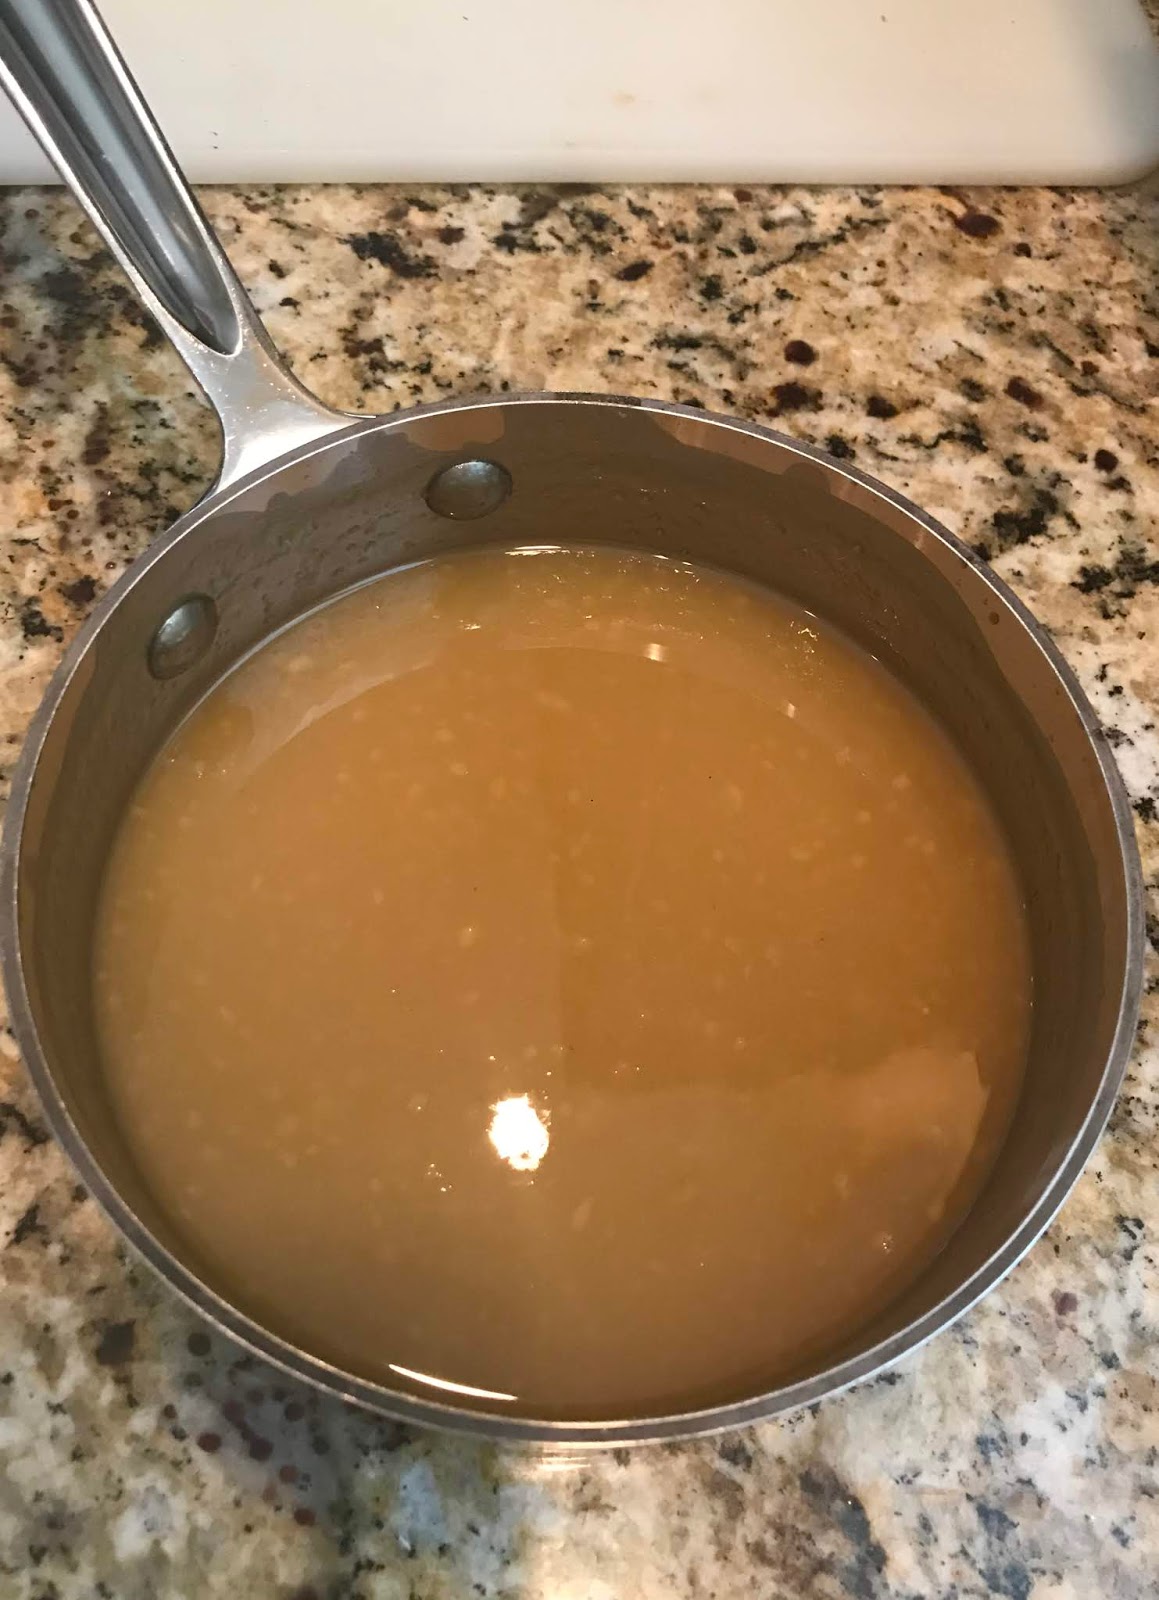
To begin, I really think you should soak the beans overnight or for at least 6-8 hours, but you can do them in a pressure cooker if you are in a rush.

Make sure to soak the beans in a large pot with a cover which can be used afterwards for cooking them. It just makes it easier. After soaking the beans, pour off the water and then add 6 cups of fresh water. Put it on the stove over medium heat and let it start cooking.

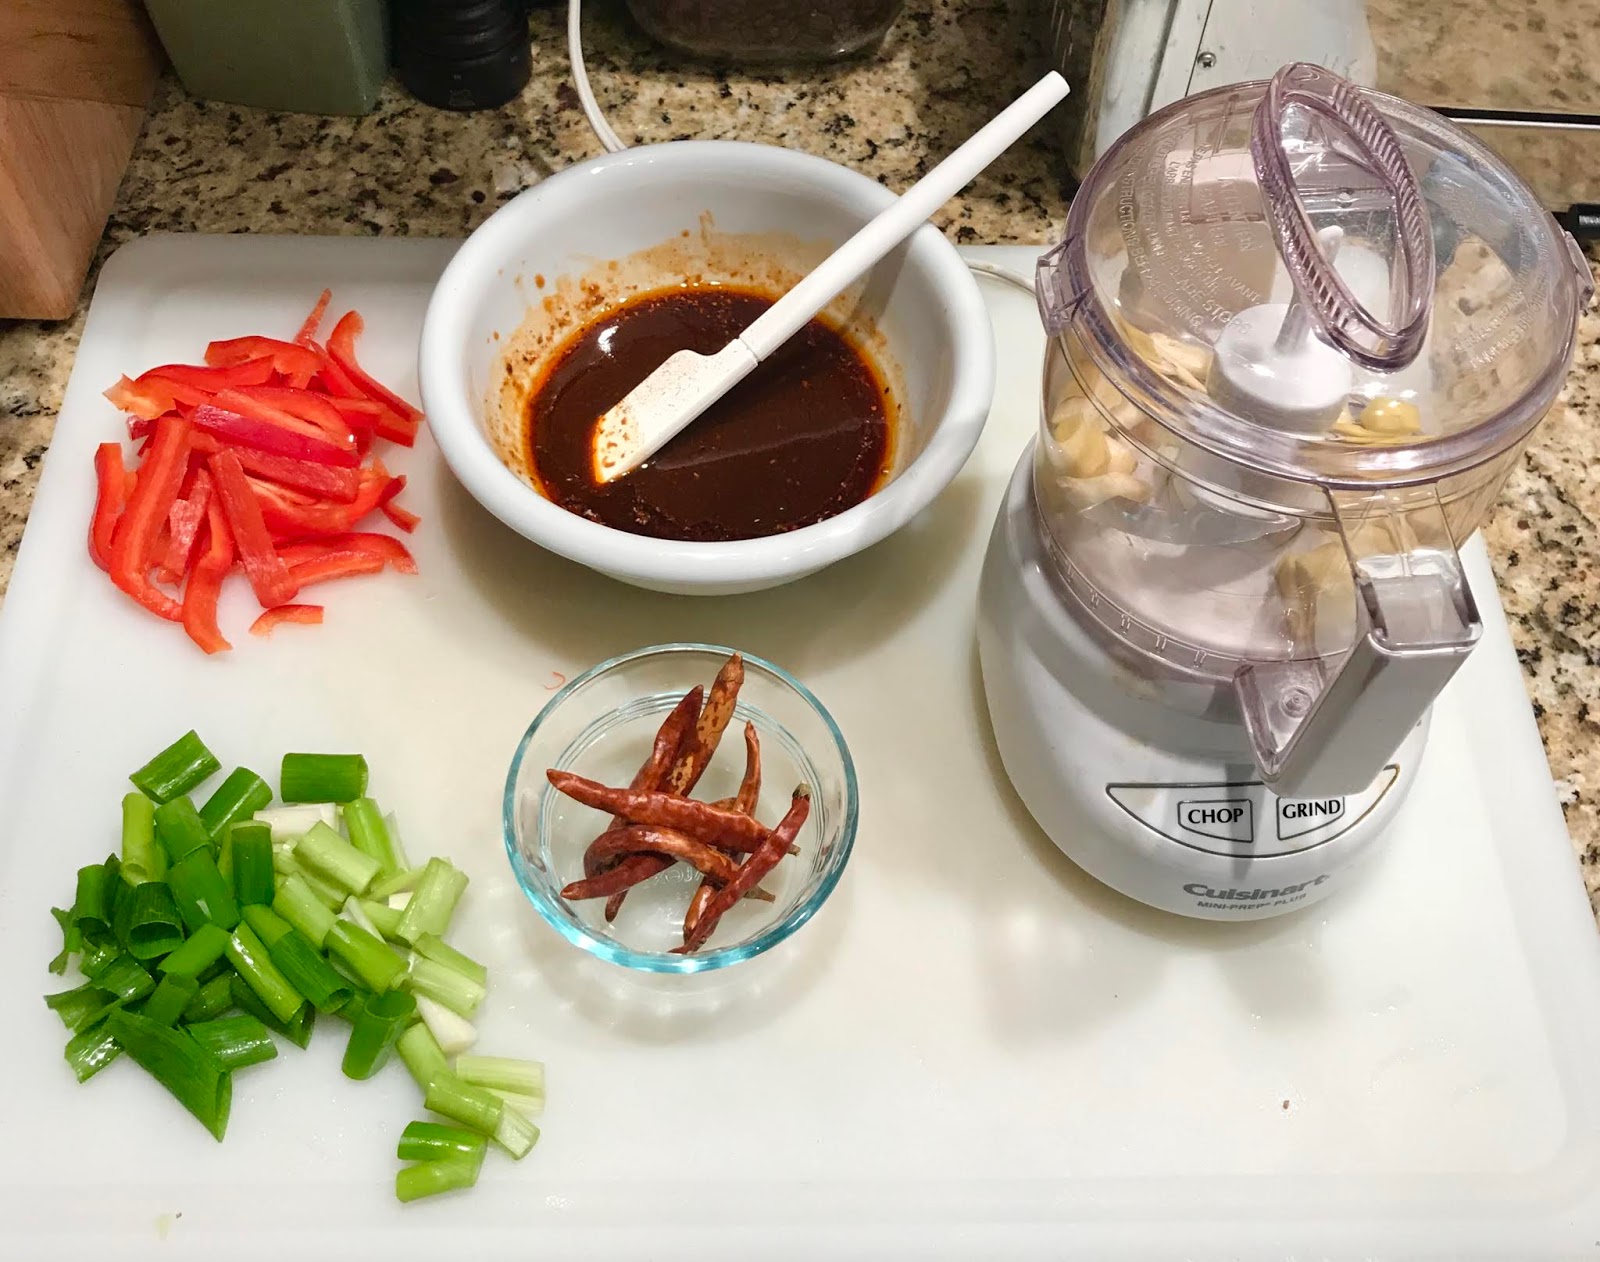
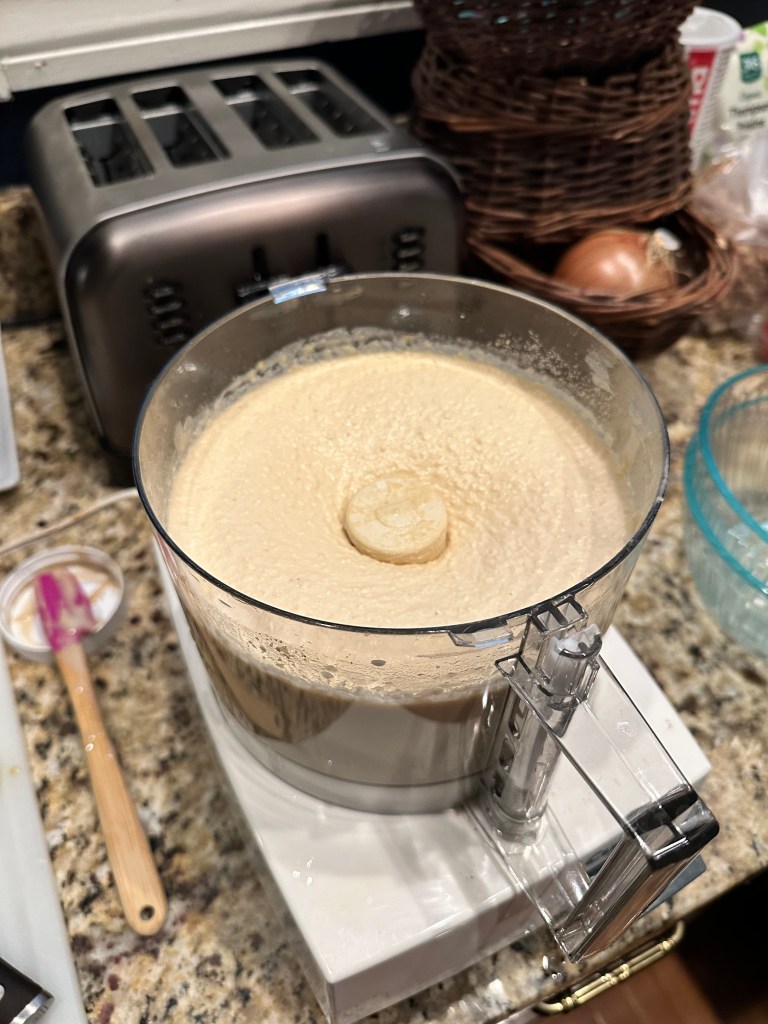
Prepare your onion, garlic, ginger, salt, red chili powder and sugar, by pureeing them in a small food processor.
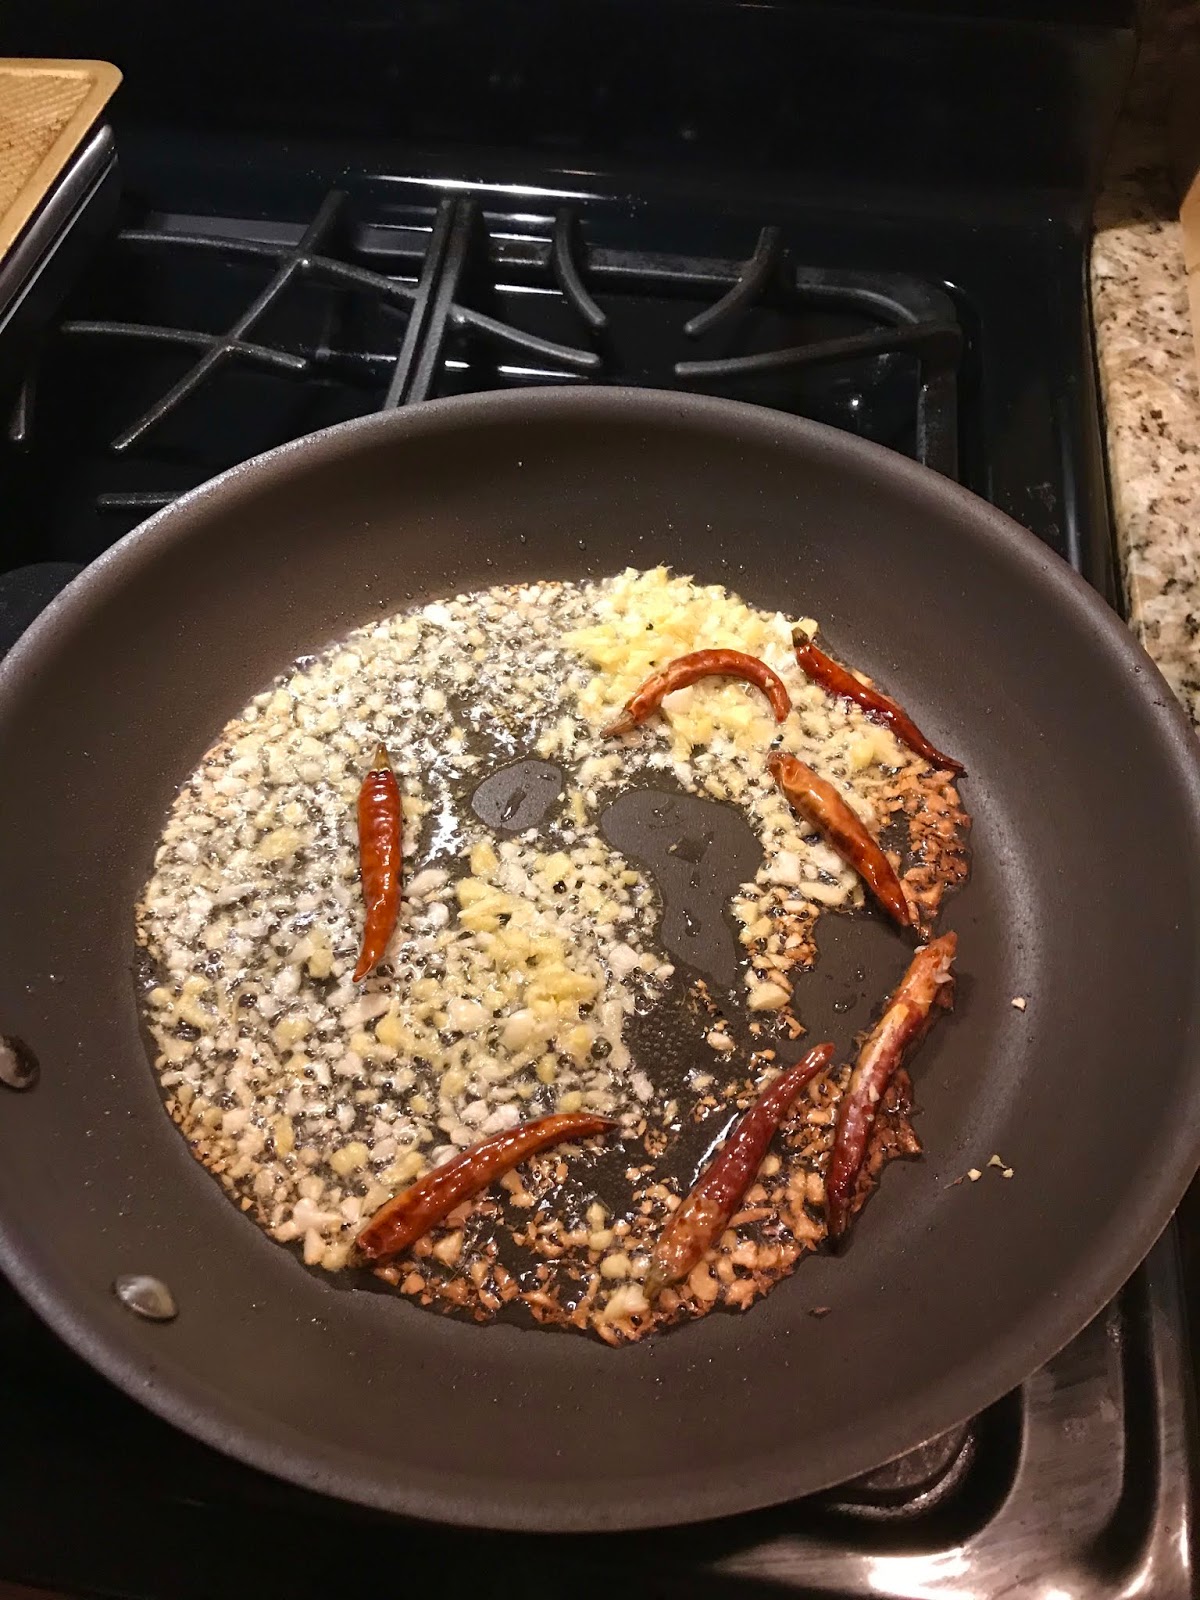
Heat your oil and Earth Balance/Ghee in a separate sauté pan or wok and when very hot add the black mustard seeds and cook until they crack open and begin popping. Then add the curry leaves, asafetida, red chilies and cinnamon stick, cook until they start to release their aroma. About 2 -3 minutes. Then add the onion mixture and cook until the onion just begins to lightly brown. About 5-7 mintues.
Add the tomatoes, ground coriander, turmeric and cumin powder. Cook for 3-4 minutes and then pour this mixture over into the beans and water and bring all to a soft boil.
Cover and cook on a gentle simmer until the green color is gone from the beans and the beans are soft and creamy. add water if needed, but make sure it is thick and creamy, not runny. About 3-4 hours.
Serve with some fresh lemon juice squeezed over top, a bit of cilantro and over basmati rice or with naan bread.

Lucky’s Chili and Garlic Fish

This is such a amazing dish. It has all the spiciness of Sichuan cooking, with that sweet and sour undertone that I really enjoy.
 
The story behind it is that we had a wonderful Sichuan restaurant near my old office in City of Industry, California called Lucky Dragon aka Lucky’s. We probably ate this fish accompanied with dry sautéed string beans and ma po tofu at least three times a week.
 
To make it simpler to prepare, I’ve divided the ingredients into stages. Additionally, any of these ingredients can easily be found at your local Asian or Korean markets. Once you buy them, they last forever in your pantry, so you will be able to prepare many meals from just one buying trip.
 
In Asian cuisine, the prep time is important, as the cooking time is minimal. You want everything within reach. Try to give the fish at least an hour with the glaze to soak up the flavors.
 
Ingredient Preparation: 
 
Fish:
3/4 to 1 lb flaky white Fish, like Cod, cut into 4 manageable pieces.
1 Tbsp Hot Bean Paste
1 Tbsp Shaohsing Wine
 
 
Prep the fish by mixing the wine and hot bean paste together and brush it over the fish and into the fridge.
 
Sauce:
2 Tbsp Hot Bean Paste
1 Tbsp low sodium Soy Sauce
1 Tbsp Shaoxing Wine
1 Tbsp Chinkiang or Rice Vinegar
1 tsp Sichuan Peppercorn, ground.
2 tsp Sugar
2 tsp Toasted Sesame Oil


Mix all sauce ingredients together in a bowl. Set aside.
 
Stir Fry Ingredients:
3 Tbsp Vegetable Oil
4 cloves Garlic, minced
2 inch Piece fresh Ginger, minced
5-6 dried Whole Chilies
1/2 Red Pepper, chopped
3 Green Onions, chopped


Chop your vegetables and use a mini blender to mince the garlic and ginger. If you don’t have a mini blender, this can also be done by hand.
 
Slurry:
2 Tbsp Water and 1 Tbsp Cornstarch mixed together. Set aside to be used to finish the dish.
 
 
Preparation:
 
Heat oil in your sauté pan or wok. Add the garlic, ginger and while chilies and sauté until just slightly golden. Add your red pepper and scallions and sauté for 2 minutes.
 
 
Gently add your fish and allow to cook for about 2 minutes on each side.
 
 
Then add your sauce mixture and baste the fish for another minute depending on the thickness of the fish.
 
To finish, add the cornstarch and water slurry to thicken and serve immediately with steamed brown or white rice.


Nobu’s Famous Miso Black Cod

There is no dish that epitomizes Nobu more than Miso Black Cod. Such a simple dish, but flawlessly prepared and finished so that is has a rich crispy caramel glaze.

I must admit finding black cod took some doing, but it was worth the wait. I was able to special order it from Whole Foods and it arrived in two days.

While I was waiting for it to arrive, I did some research and found out that Black cod is not even in the cod family. Black Cod, also known as butterfish or sablefish is an entirely different family of fish, and also when black cod is smoked, it is the deli classic known as sable.

The key to this dish is letting it marinade for a full 2-3 days. I made a slightly smaller recipe, as there were only two of us, but even with only 4 filets, I still recommend the full amount of marinade.

Marinade:

1 cup of Sake
1 cup of Mirin
8 Tbsp White Miso
1/2 cup White Sugar
6 Filets of Black Cod (Sablefish), about 1/2 lb each

Begin by adding the sake and mirin into an average sized saucepan and bring up to a boil. Reduce it by 1/4, about 5 minutes. Reduce the heat to simmer and add in the miso a bit at a time, whisking as you go. You want the miso to be fully incorporated, so don’t rush it. Then bring the heat up to medium high and add the sugar whisking constantly so it doesn’t stick to the pan. Once the sugar is completely melted, remove the pan from the heat and leave it cool to room temperature.

Rinse off the black cod and pat it dry. Add a little of the marinade into the bottom of a large pyrex dish and put the filets skin side down. Pour the rest of the marinade over the fish and cover tightly and put into the refrigerator. Marinade for 2-3 days, turning occasionally.

Preheat oven broiler to 500F. Take the filets from the refrigerator and scrape off any excess marinade, but don’t wipe it off. Once the oven is up to temp, kick the broiler on high and have the rack in the upper middle of the oven. Not too close to the broiler. Basically you are going to bake it and sear it at the same time.

Using a non stick sauté pan that can go into the oven, heat up the pan and add a tiny bit of oil. Put the filets in skin side down and sear for 2-3 minutes. Transfer the entire sauté pan into the oven and cook until the fish starts  to brown and bubble. About 7-8 minutes. You want the fish to be caramelized (see the pic) and flake easily.

Serve with Jasmine or Japanese rice and enjoy.

Note: This recipe is loosely based upon the original one created by Nobuyuki “Nobu” Matsuhisa

Pan Seared Scallops

These are so simple to make, yet people seem to shy away from preparing them. You often see them on the menu in fine restaurants. They are a popular and tasty restaurant dish, so why not learn make them at home.

I find the frozen raw Costco scallops to be very good. They are not treated with chemicals and are frozen immediately after harvesting. Just thaw them, rinse them and pat them dry and they are ready to go. If you have access to fresh diver caught scallops, all the better.

The key to getting these seared to perfection is to make sure they are absolutely dry before they go in the pan. The pan must be very hot, hence why you need to use clarified butter. Normal butter would burn before the pan got hot enough to sear.

If you do not have clarified butter use a sturdy vegetable oil, but the clarified butter gives them an amazing flavor.

Finally, and most importantly, do not over cook them. Literally, they need 2 minutes on each side.

Ingredients:

10 dry Sea Scallops, 15-20 ct or slightly larger
Salt
Black Pepper
2 Tbsp Clarified Butter
1/2 Lemon, juiced
1/4 cup White Wine
1 Tbsp fresh Chives, chopped

Preparation:

Begin by preparing all the ingredients, as once you start cooking it will go quickly.

Put your oven on its lowest setting and put your dinner plates in there, so they will be slightly warm. This is important, as you will transfer the seared scallops to them while you prepare your sauce. Season your scallops on both sides with salt and black pepper.

Heat your pan until it is very hot, add your clarified butter and once it starting to smell nutty and turn a bit golden, quickly add your scallops. Don’t disturb them while they are searing. Two minutes on one side, then turn them over with tongs. Two more minutes and transfer them to your heated plates.

Add the white wine and lemon juice and deglaze the pan. As the sauce starts to thicken, add the chives. Then spoon over the scallops and serve immediately. They are great with my seafood rice pilaf.

Seafood Rice Pilaf

This is an interesting pilaf recipe because it uses Thai brown jasmine rice rather than normal white long grain rice. Also, I’ve omitted the traditional orzo, as I just don’t feel it adds anything to the recipe. However, if you prefer white jasmine rice, that will work as well. Just note the change to stock ratios.

I find the resulting pilaf has more flavor and when prepared with the seafood stock it’s the perfect side for any sort of fish or seafood. Or, any grilled or roasted dish for that matter.

With the seafood stock and the addition of the Thai fish sauce, I don’t find that additional salt is needed.

Ingredients:

1 cup Brown Jasmine Rice. If using white rice, see note below.
2 cups Seafood Stock. I think Imagine stock is very good.
1 tsp Thai Fish Sauce
3 Tbsp Butter
1/2 Onion, chopped
1/2 Red Bell Pepper, chopped
2 cloves Garlic, chopped
1 tsp ground Turmeric
2 Bay Leaves
Freshly ground Black Pepper
1/8 tsp Smoked Paprika

Preparation:

In a saucepan, add the butter and sauté the onions, red pepper and garlic. After these are translucent, add the rice and brown it until it starts to smell toasty.

Add your seafood stock, fish sauce, bay leaves, black pepper and smoked paprika and bring it up to a lively simmer. Cover and lower heat and cook for 20 minutes. Stirring occasionally.

Once it’s done remove from the heat and allow it to rest covered for at least 5 minutes. Serve with fish or seafood.

Note: If you choose to use white rice, reduce your stock to 1 cup.

Note: If you can’t locate a good quality seafood stock, you can substitute low sodium vegetable stock, and increase the fish sauce to 2 tsp.

Pasta, the long and short of it.

I have probably had this conversation with more people than just about any other subject in Italian cooking. The usual comment is, “Isn’t all dried pasta basically the same”? “Are the imported pastas really worth the extra money”?

Well, let me get the first question out of the way. Yes, if you are looking at a reputable brand, which we will discuss later, they should all be made with 100% Durum wheat semolina and water.
As for the second question, well that requires a bit of explanation.

If the ingredients are basically the same, then what could contribute to a better tasting pasta? I believe there are a few fundamental differences. One, the wheat used should be 100% Durum wheat semolina, not durum flour. This is one the most basic differences. And, how does this effect the final result? If a pasta is made with durum flour, it will tend to be starchy and not really hold up to be al dente when cooked. This durum flour is commonly used in American pastas, and is cheaper. Remember, just because it says it’s the number one pasta in Italy, it doesn’t mean that the basic recipe is the same as in Italy.

The other major difference is the speed with which the pastas are dried. This appears to be a very fundamental difference and from my taste test really does effect the final result. Bottom line, the slower the pasta is dried, the better it will hold up to cooking and the better it tastes. The easiest way to describe it is, it has body and depth of flavor. Your artisan pasta brands from Italy will have been dried very slowly on racks.

Finally, the higher end Italian brands most often use bronze dies to extrude the pasta, and thus the surface texture is a little rougher, which means it holds the sauce better.

So, where does this leave us? I have rated a few of the pastas I have personally tried. Some are expensive, but others are more reasonable. I suggest you try a few and find one that you like. It really does make a difference.

Basic Can’t Go Wrong Pasta:

De Cecco – This is probably the easiest to find of the premium pastas and it is good quality and reasonable. It’s the blue box. Available in most grocery stores.

Rummo – This is readily available and a favorite of Stanley Tucci. I’d say that’s a pretty good endorsement.

One Step Up Pasta:

Martelli – This is the one in the yellow bag and is normally available at Williams Sonoma and some other higher end retailers and online. A very good choice with wonderful flavor. Great when you just want a pasta with butter and cheese. Available online at www.gustiamo.com

Rustichella D’Abruzzo – This is one of my absolute favorites. Amazing taste and texture. This is the pasta that really changed my mind about how good a higher quality pasta could taste. Available at Amazon.

Faella – Not easy to find, but really top notch. This is pushing into the premium brand category. Available online at www.gustiamo.com

The Best Of The Best:

La Molisana – I’m a big fan of this pasta brand. It can be tough to find, but its worth searching out.

Columbro – One of very best and not easy to find in stores, but easy to find online. It is expensive, but the flavor is like nothing you’ve every tried. This is a special occasion pasta. They are especially known for their egg noodles. Available online at www.olioandolive.com

Preparing your pasta:

Now that we have reviewed the pastas, let me share a few fundamentals to make sure your pasta turns out perfectly.

1) Use a lot of water. Do not skimp on the water. Pasta needs to be able to move around the pot. You do not need to add olive oil to the water.

2) Salt the water heavily. This will infuse the salt into the pasta and then most will be poured away, so no need to worry about it being too salty.

3) Choose the right pasta for the sauce. Use thin pastas, like spaghetti and linguine for oil based and cream sauces and larger shapes for more robust sauces like marinara.

4) Do not add too much sauce. The sauce is a complement to the pasta, not the other way around. If there is one thing that ruins good pasta, it’s too much sauce, because it covers up the flavor of the beautiful pasta.

5) Finally, do not overcook. Follow the directions and check it at a minute before the lowest time and then check every minute from then on. Example, if it says to cook from 8-12 minutes, then check at 7, 8, 9, 10, etc.

6) Scoop out a little of the pasta cooking water about 4 minutes before the pasta is done, and set it aside. I use a Pyrex measuring cup.

5) Finally, to finish your pasta, drain it and add it back to the cooking pan, add a bit of sauce, a bit of the reserved pasta water, then a bit of cheese and stir until it starts to glisten. Add a bit more cheese on top and serve immediately. Cold pasta is a travesty.

Roasted Sweet Potatoes and Fresh Figs

This is a truly wonderful dish from Yotam Ottolenghi. It is a staple in his famous London restaurant, Ottolenghi.

It is not difficult to prepare, but just takes a bit of time to roast the sweet potatoes. It is infinitely better with fresh figs, but in a pinch, you could use dried figs.

Yotam’s suggestion to use a balsamic glaze is a good one and really saves a lot of time. If you can not find a balsamic glaze, then you can make your own by slowly reducing balsamic vinegar with some added sugar.

Ingredients: 

4 medium Sweet Potatoes (2 lbs in total, try to get them in a similar size, so they will cook evenly)
5 Tbsp Olive Oil
3 Tbsp Balsamic Vinegar Glaze
12 Spring Onions, halved lengthways and cut into 2 inch segments
1 red chilli, thinly sliced
6 fresh and ripe Figs, quartered
1 tsp Sea Salt
Black Pepper

Preparation:

Preheat the oven to 475F.  Wash the sweet potatoes, halve them lengthways and then cut each again similarly into three long wedges. Mix with three tablespoons of the olive oil, sea salt and some freshly ground black pepper.

Spread the wedges out on a parchment covered baking sheet, skin-side down, and cook for about 25 minutes until soft but not mushy. Remove from the oven and leave to cool down.

Heat the remaining oil in a medium saucepan and add the spring onions and chilli. Fry on a medium heat for 4–5 minutes, stirring often, making sure not to burn the chilli, and then spoon the oil, onions and chilli over the sweet potatoes. Dot the fresh figs among the wedges and then drizzle over the balsamic reduction.

Thank you to Yotam Ottolenghi for the amazing pic.

Hummus, the ultimate mezze.

I’m always trying to improve my recipes, so when I get in the mood to make some hummus, it’s time get out the chemistry set. Hummus is so simple to make, yet so easy to ruin. It can be too garlicky, too much lemon or coarse and lumpy.

After quite a few batches, I have a very good recipe and one secret technique to produce the most creamy hummus you’ve ever tasted. After making this, you will never want store bought hummus again. Often, I find that people add too much garlic in hummus and it becomes bitter and sharp. The garlic should be an afterthought, not front and center. Hint: My way to avoid this, is to soak the garlic in the lemon juice prior to adding to the hummus.

Additionally, I always use organic chickpeas, because the non organic will have preservatives and it leaves a bitter taste that can not be washed or rinsed away. In a future post I will outline how to soak and make hummus from dried chickpeas. It’s a game changer.

Ingredients:

1 28 oz can of Organic Chickpeas, drained and rinsed thoroughly.
1-2  cloves of fresh Garlic, crushed and soaked.
3/4 cup Tahini
Juice of 2-3 Lemons
1 Tbsp Lemon Zest
3 Tbsp Extra Virgin Olive Oil
1-2 tsp Sea Salt
Smoked Paprika-Optional
 
Preparation:
 
Juice your lemons and add your crushed garlic. Allow to set for 10-15 minutes.
Place the drained and rinsed chickpeas into a food processor, and pulse to bring them to a smooth blended consistency.
 
Add the lemon juice (start with 2 lemons, you can always add more), salt, lemon zest, olive oil and pulse again. Then add the tahini one tablespoon at a time. It may get thick, but it will loosen up again.
 
Now, here’s the secret tip. Turn the food processor on again and as it is blending, start dropping in ice cubes one at a time. It usually takes 3-4 cubes to really make the hummus creamy, but you will see the difference. When it starts to lighten slightly and turn a cream color, it is done. Taste and adjust for lemon and salt. Put into the refrigerator

Then just before serving, sprinkle with smoked paprika or zataar and drizzle with additional olive oil if desired and serve with pita bread or veggies.

Goong Pad Gra Phrao- Stir Fried Prawns with Basil

This is a common dish in Pattaya and also in Phuket as these areas have a lot of seafood This is simple to make and very tasty. There are so many versions of this recipe, as each chef or street vendor has there own trick. The brilliance of Thai cuisine is it’s inventiveness, so experimentation is encouraged.

The key to make this perfectly is to not over cook the shrimp. It’s hard to believe it, but once they curl, they are done.

Ingredients: 

1 lb. raw Prawns, shelled. 18-20 count is good size.

2 Tbsp. of Peanut or another Vegetable Oil

4 cloves chopped Garlic1 tbsp chopped fresh peeled Ginger Root
1/2 large Onion, sliced

1/2 Sweet Red Pepper, sliced

2 finely chopped Thai Chilies, or you can substitute Serranos chilies.

Handful of fresh Basil, pulled apart just before adding to the dish.

Sauce:

1 Tbsp. Oyster Sauce, use a premium quality brand.

1 Tbsp. Fish Sauce

1 Tbsp low sodium Light Soy Sauce

2 tsp. white sugar, brown sugar or palm sugar

Preparation:

Heat your wok, or a large skillet may also be used. Once the wok is very hot add your oil and add the ginger, garlic and chopped hot chilies and sauté. This will take 1 minute. Be careful to not let the garlic burn.

Then add the onion and peppers and stir-fry until almost fully cooked. This takes only about 2 to 3 minutes max. Add the prawns and cook until they just begin to curl and turn pink. This usually takes no more than 1 to 2 minutes.

Now add the sauce and the fresh basil and cook for an additional minute. Serve immediately with steamed jasmine rice.

Chicken Khoresh

I have been experimenting with Persian food, and must say I am really enjoying it. It’s healthy, has lots of flavor and tastes wonderful. It’s so different than other foods I have tried, so here is my most recent attempt. I think it really turned out well.

Just so you know a khoresh is sort of stew and can be made with many different ingredients. Khoresh actually means “stew” in Farsi. It is a really versatile cooking method. I would love to give credit for the initial recipe, but I’ve totally forgotten where I got it and after so many modifications I just can’t remember.

Ingredients:

1 1/2 lbs of boneless skinless Chicken thighs, cut into 1 inch pieces
5 cups of Celery, sliced into 1 inch pieces.
3 cups of Parsley, chopped
1/2 cup of Mint, chopped
1/2 cup of Cilantro, chopped
5 Tbsp of Vegetable Oil
4 cloves of Garlic, sliced
2 medium size Onions, sliced thinly
2 tsp Turmeric
Salt and Pepper
1 tsp Saffron crushed with a tiny bit of sugar and then mixed with 2 Tbsp hot water.
1-2 cups Water
Basmati Rice

Preparation:

In a sauté pan, heat 2 Tbsp of the oil and cook the celery for 10 minutes until translucent. Then add the chopped herbs and sauté for another 10 minutes and set aside.

In a heavy cast iron pan, heat the other 3 Tbsp of oil and brown the onions, then add the garlic and salt and the chicken and cook until the mixture is browned and caramelized.

Add in your pepper, turmeric, and herbs and mix together, then add your saffron mixture, and your 1-2 cups of water and bring to a simmer and cook uncovered for two hours.

Serve with basmati rice.