The NY Times No Knead Bread

Originally developed by Jim Lahey of Sullivan Street Bakery. Published by NY Times and food writer Mark Bittman. Incredibly easy and well worth the time.

This recipe makes one loaf

Ingredients: 
3 cups All Purpose unbleached Flour or Bread Flour
1/4 tsp Instant Yeast
2 tsp Salt
1 1/2 cups, and 2 Tbsp slightly warm Water

Preparation:

In a large mixing bowl, combine the flour, yeast and salt. Give it a quick stir to incorporate.
Pour in the water, and with a spoon, stir until blended and all the flour is incorporated. The dough will be rough and shaggy, almost like a scone dough, and fairly sticky. This step only takes one minute. Cover the bowl with plastic wrap and let it sit out on the counter for 18 hours. If your kitchen is cold, you might need 24 hours. No need for a “warm” spot, room temperature is fine.
The dough will be ready when the surface is level and bubbly.

Preheat the oven to 450˚, with the enamel pot inside, and with the lid on. While the oven is heating, turn the dough out onto a well floured surface. The dough will be very sticky and stringy.

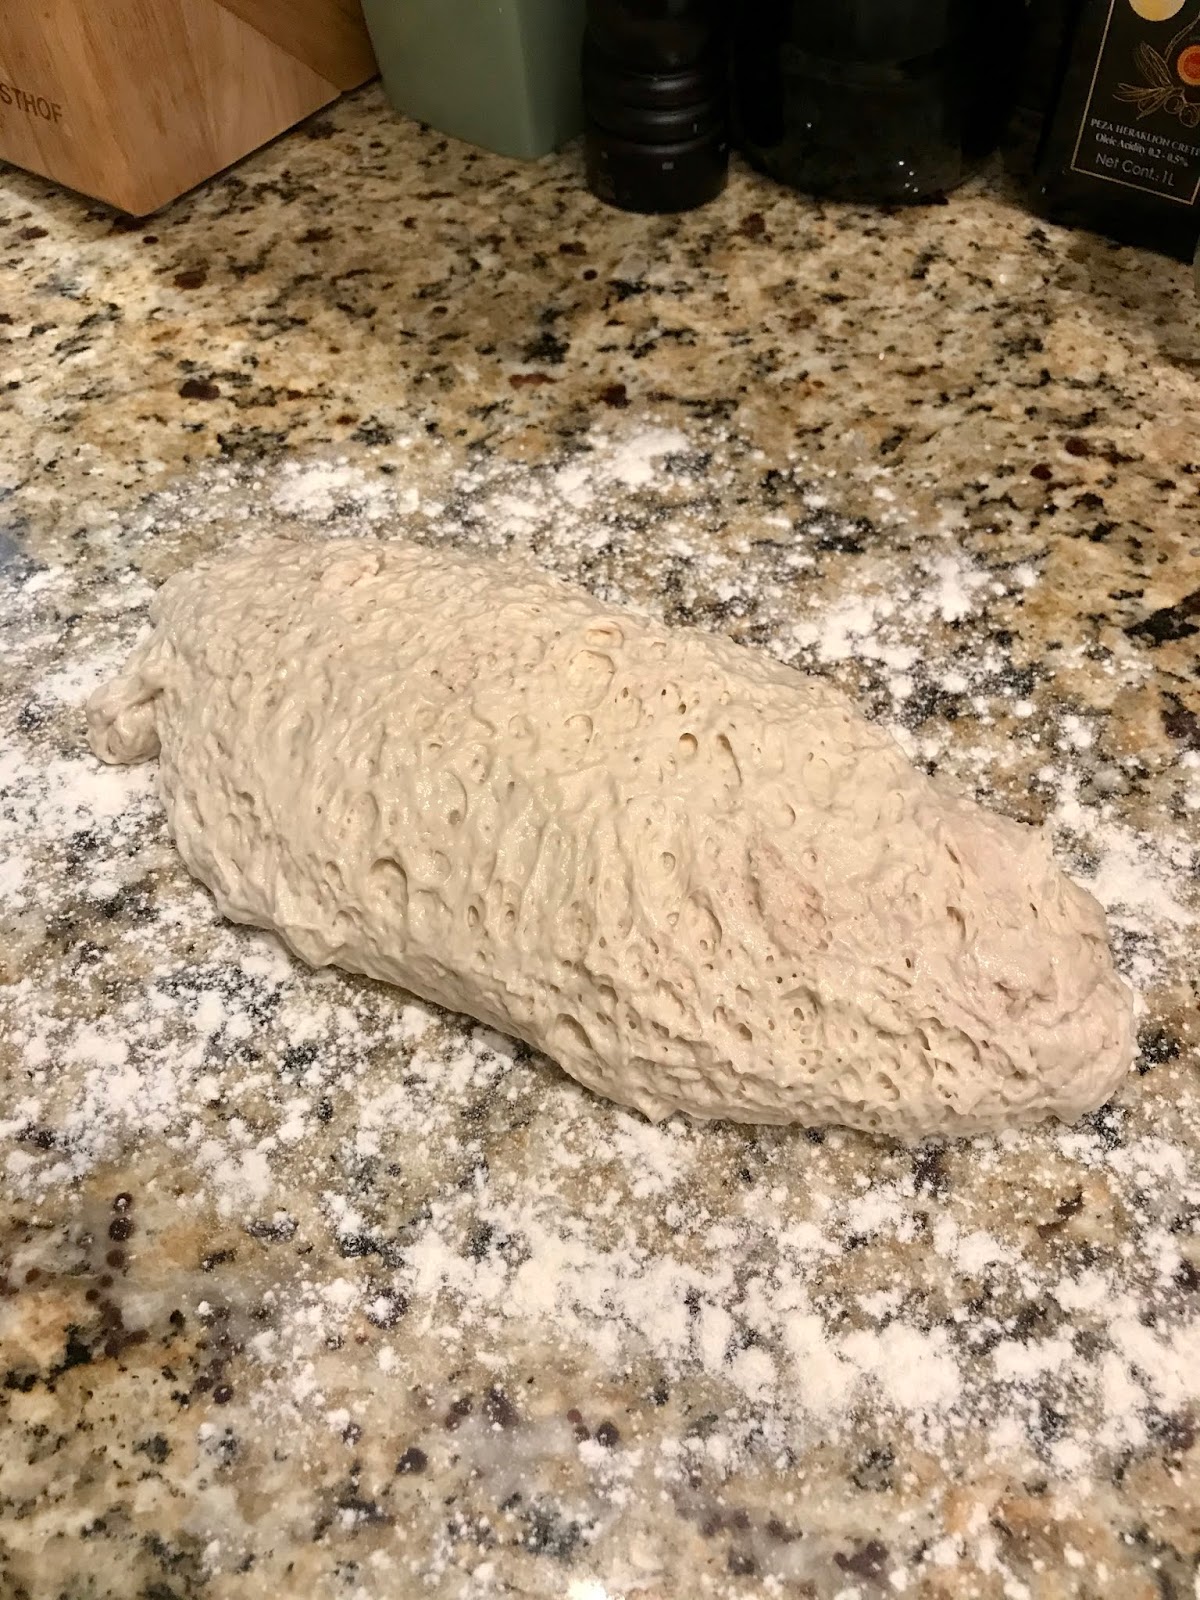
With well floured hands, fold the dough a few times over onto itself, and then shape it into a ball. The shaping of the dough should only take a minute or two. No need to knead.
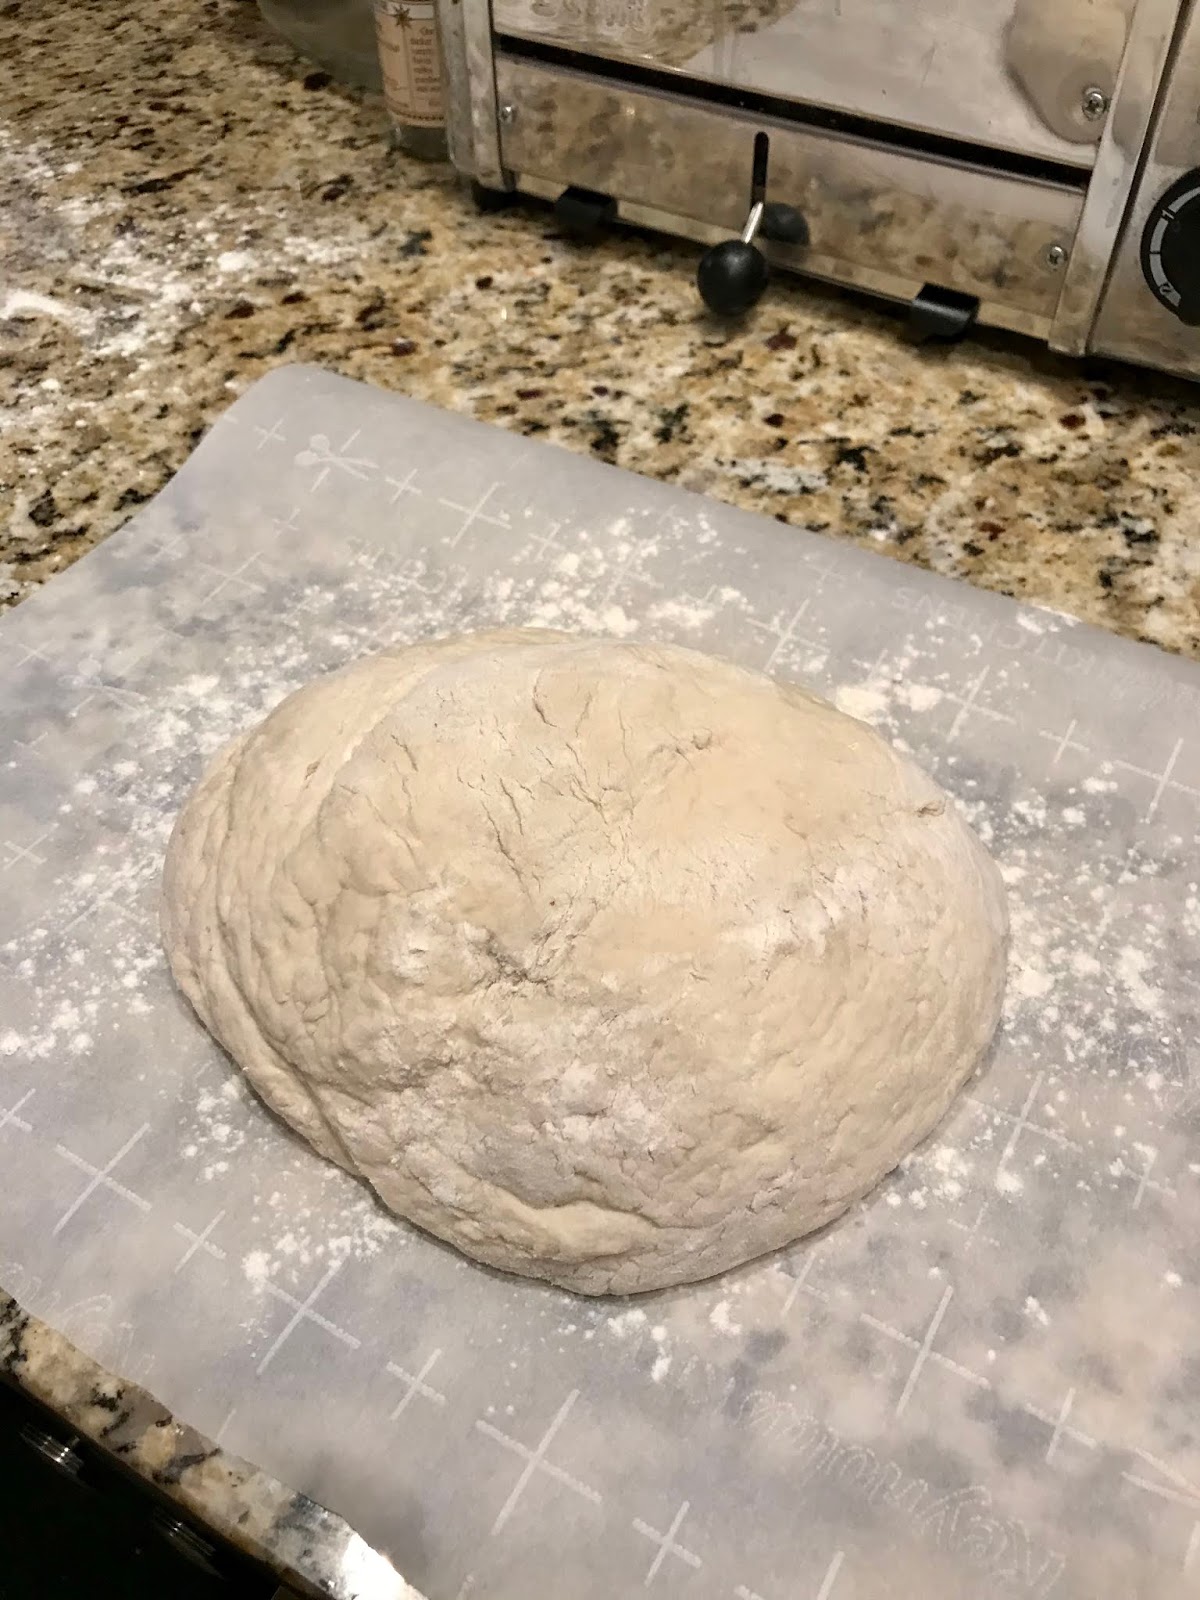
If you’re using parchment, dust the paper and lay the dough on top. Other wise, let the dough rest on a well floured surface for an additional 30 minutes covered with plastic wrap. Note, Jim calls for a 1-2 hours proof in his book. Just allow it to double in size.
Note: the oven will come to temperature well before the dough has risen, but you really want the enamel pan to be super hot, so that extra heating time is perfect.
About 20 minutes after you have shaped the dough, using a sharp or serrated knife, make cuts about 1/2 inch deep into the top of the bread. Then let it rest the final 10 minutes.
When ready, open the oven and remove the lid of the pot with a cloth or potholder. Either lift the parchment paper, or with well floured hands, carefully lift the dough and lay it into the pot. There is no need to grease the pan. It absolutely will not stick.
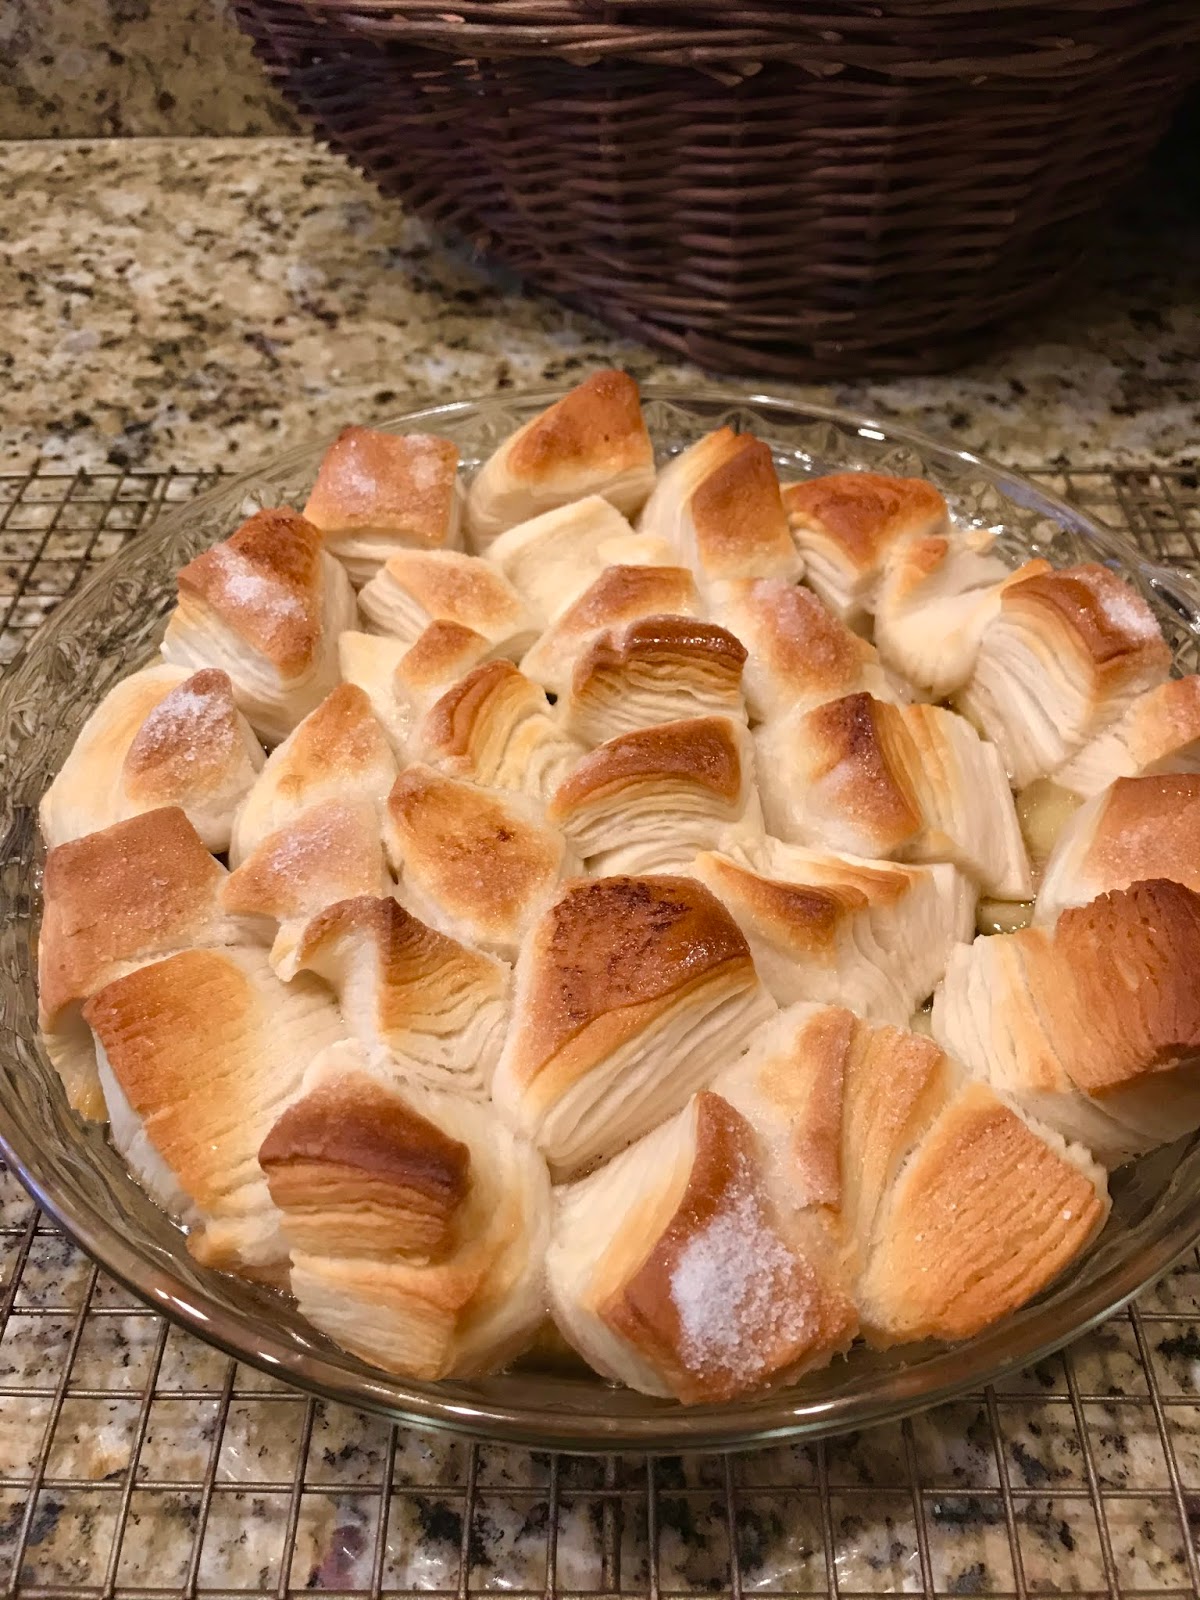
Using the potholder, replace the pan lid and slide the pot back into the oven and bake for 30 minutes. Here is how it looks after the 30 minutes of covered baking.

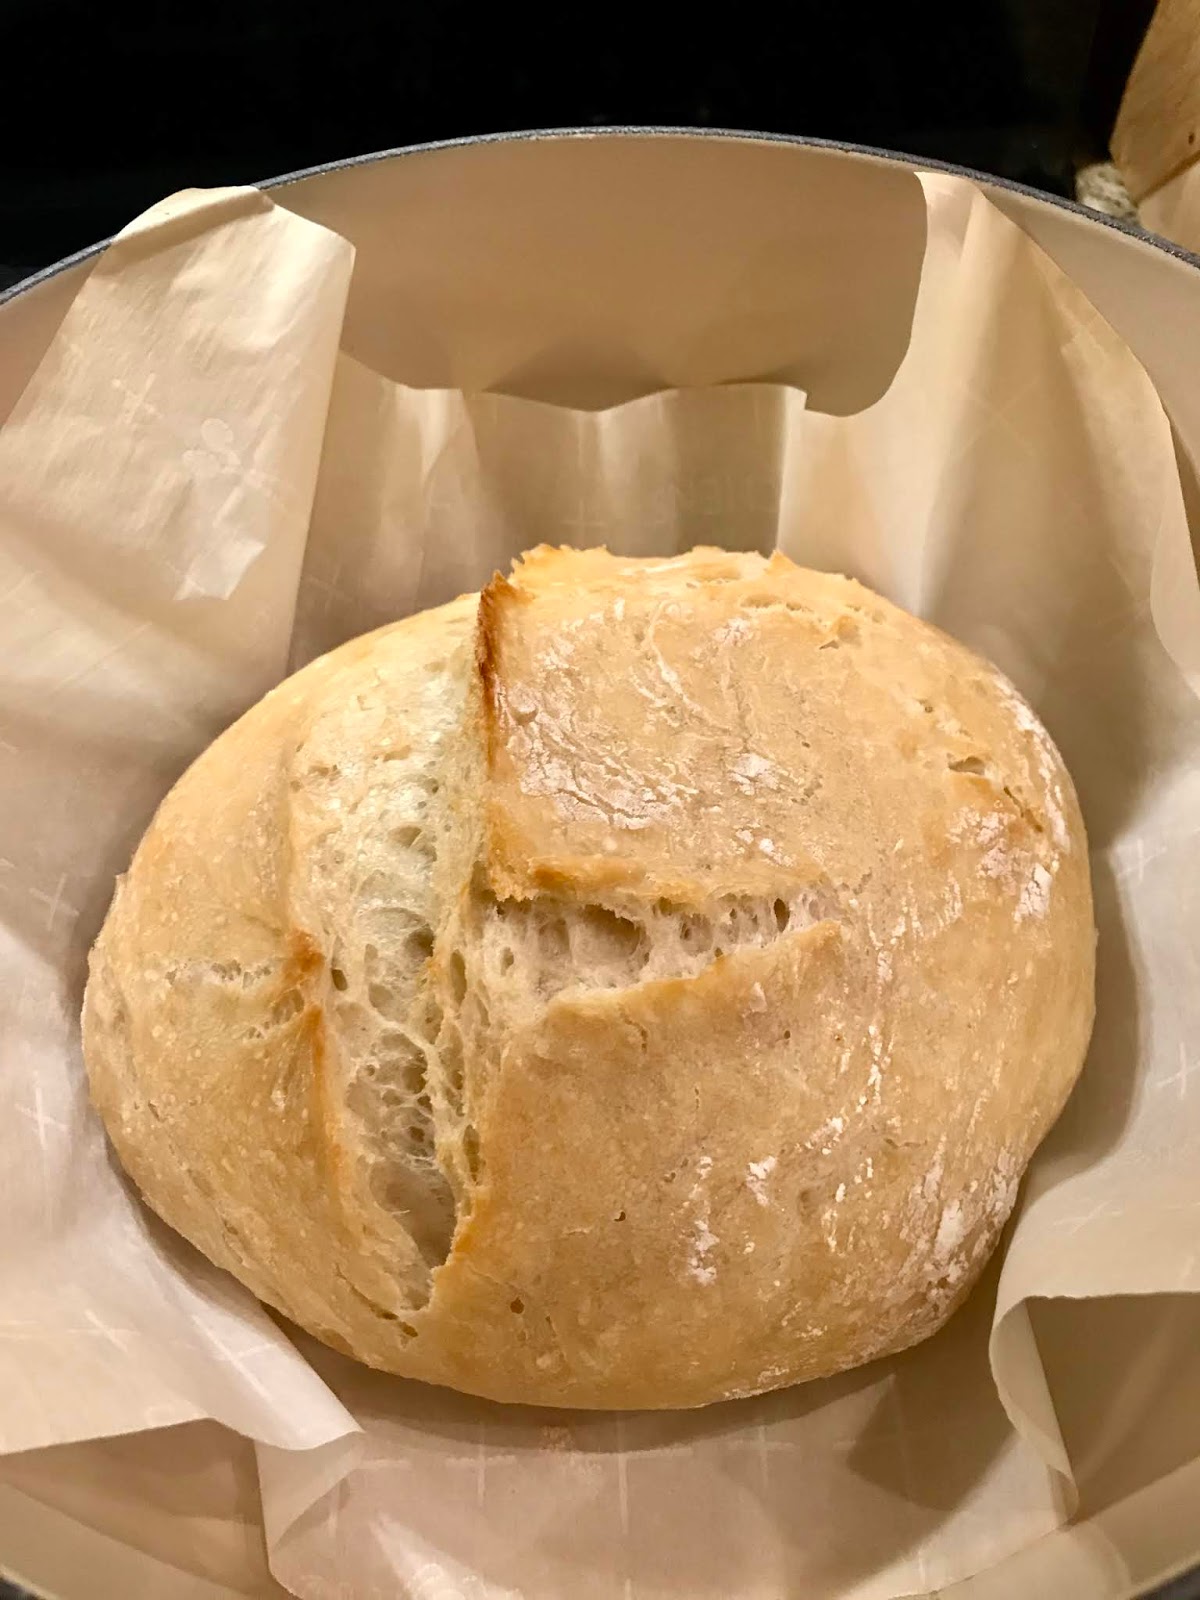
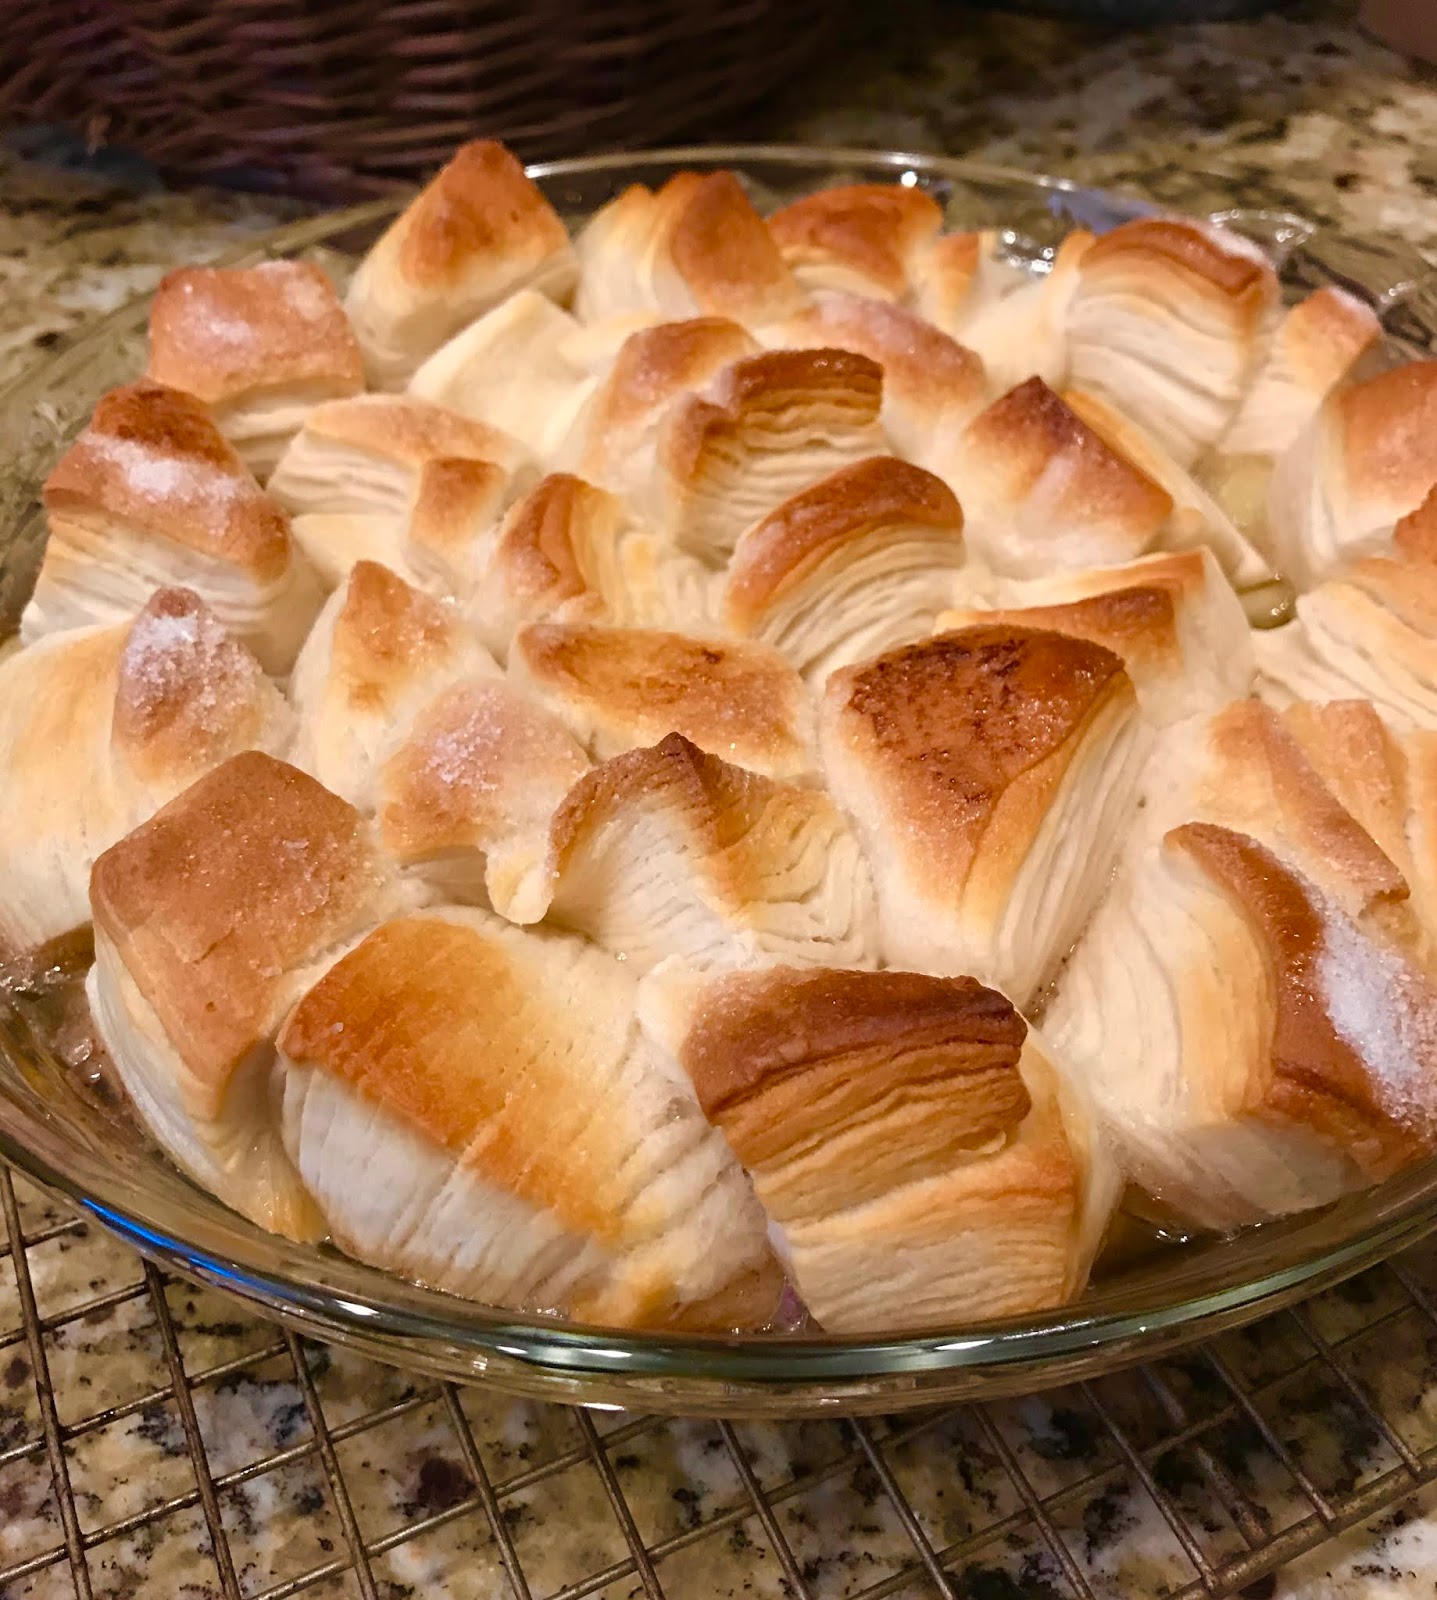
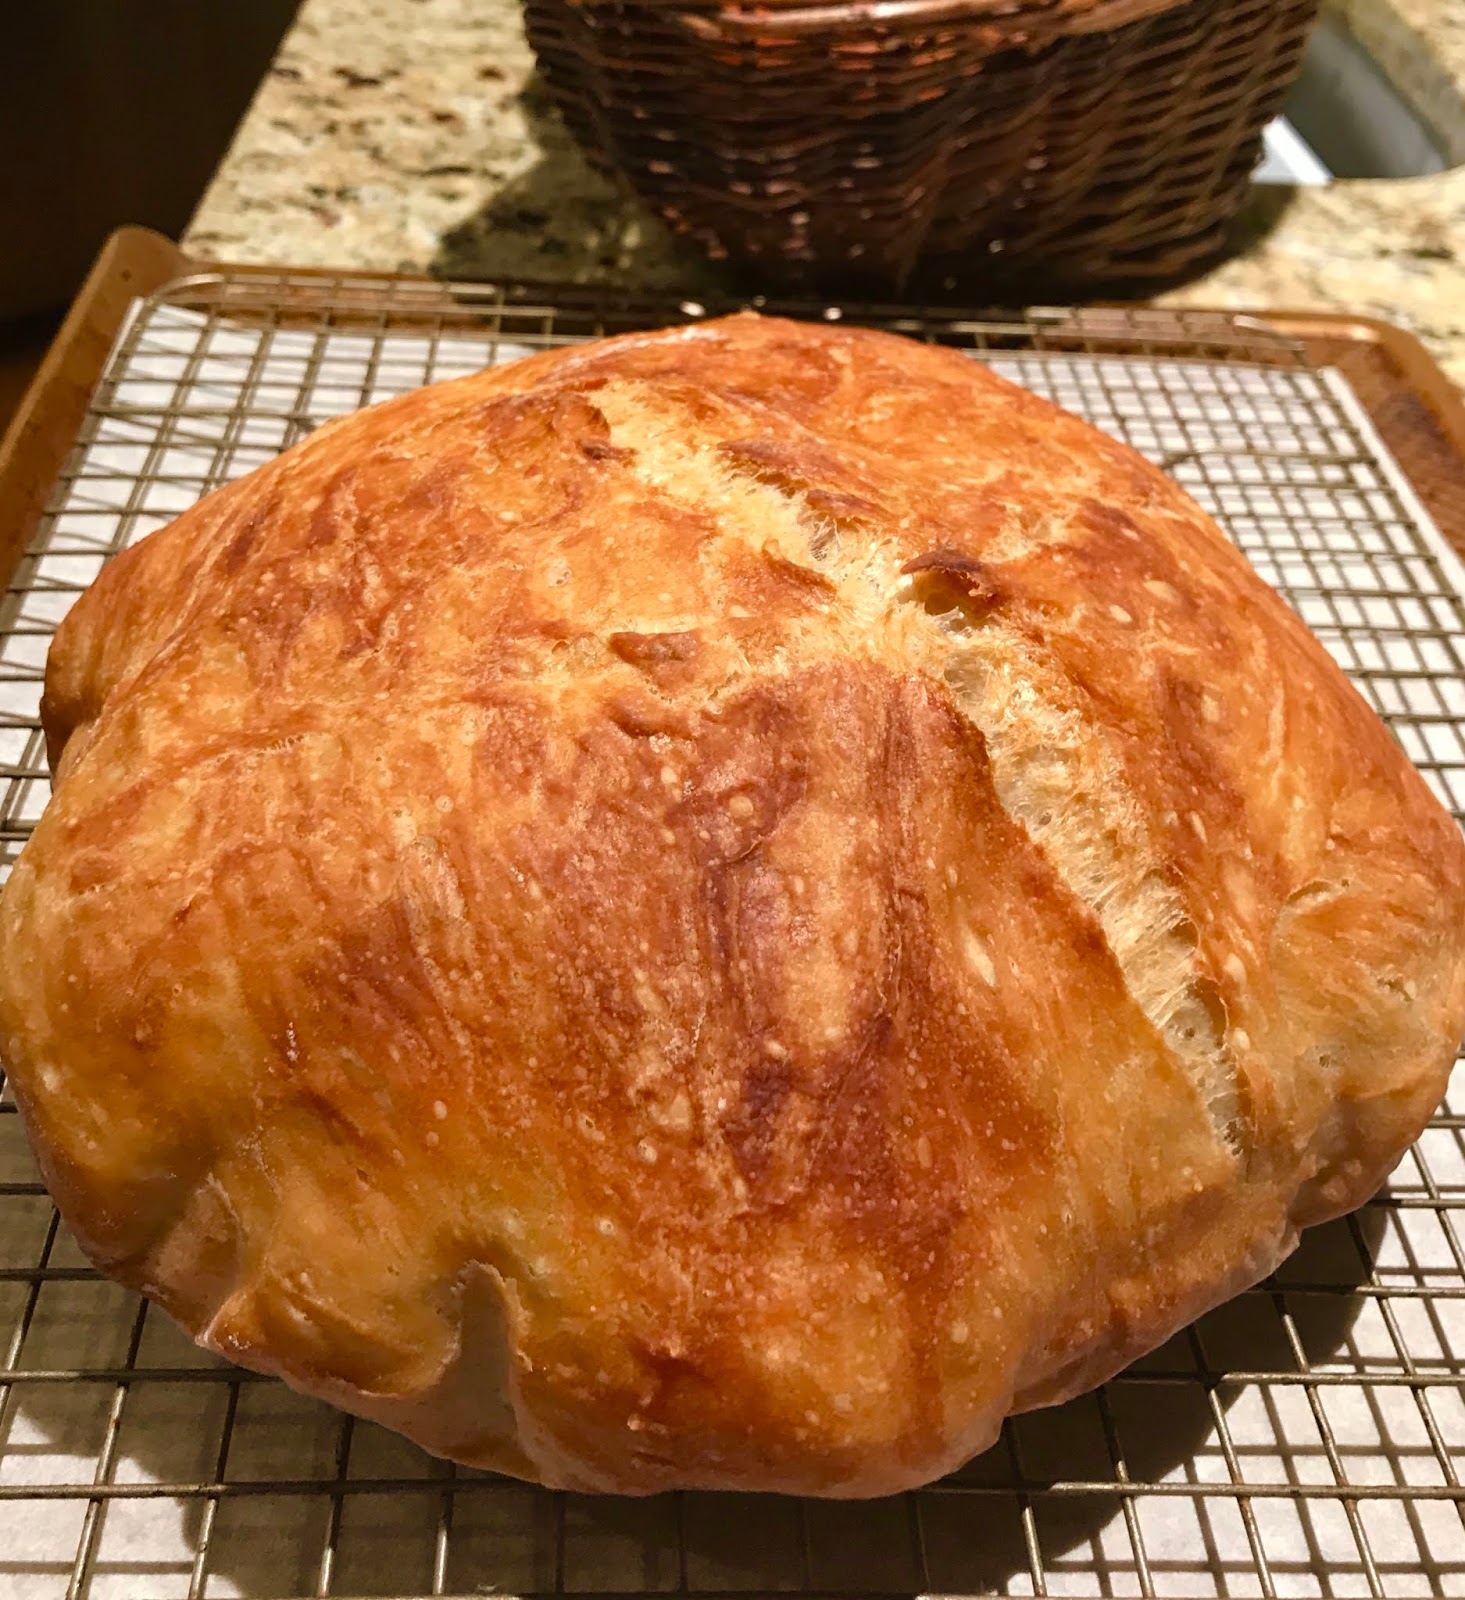
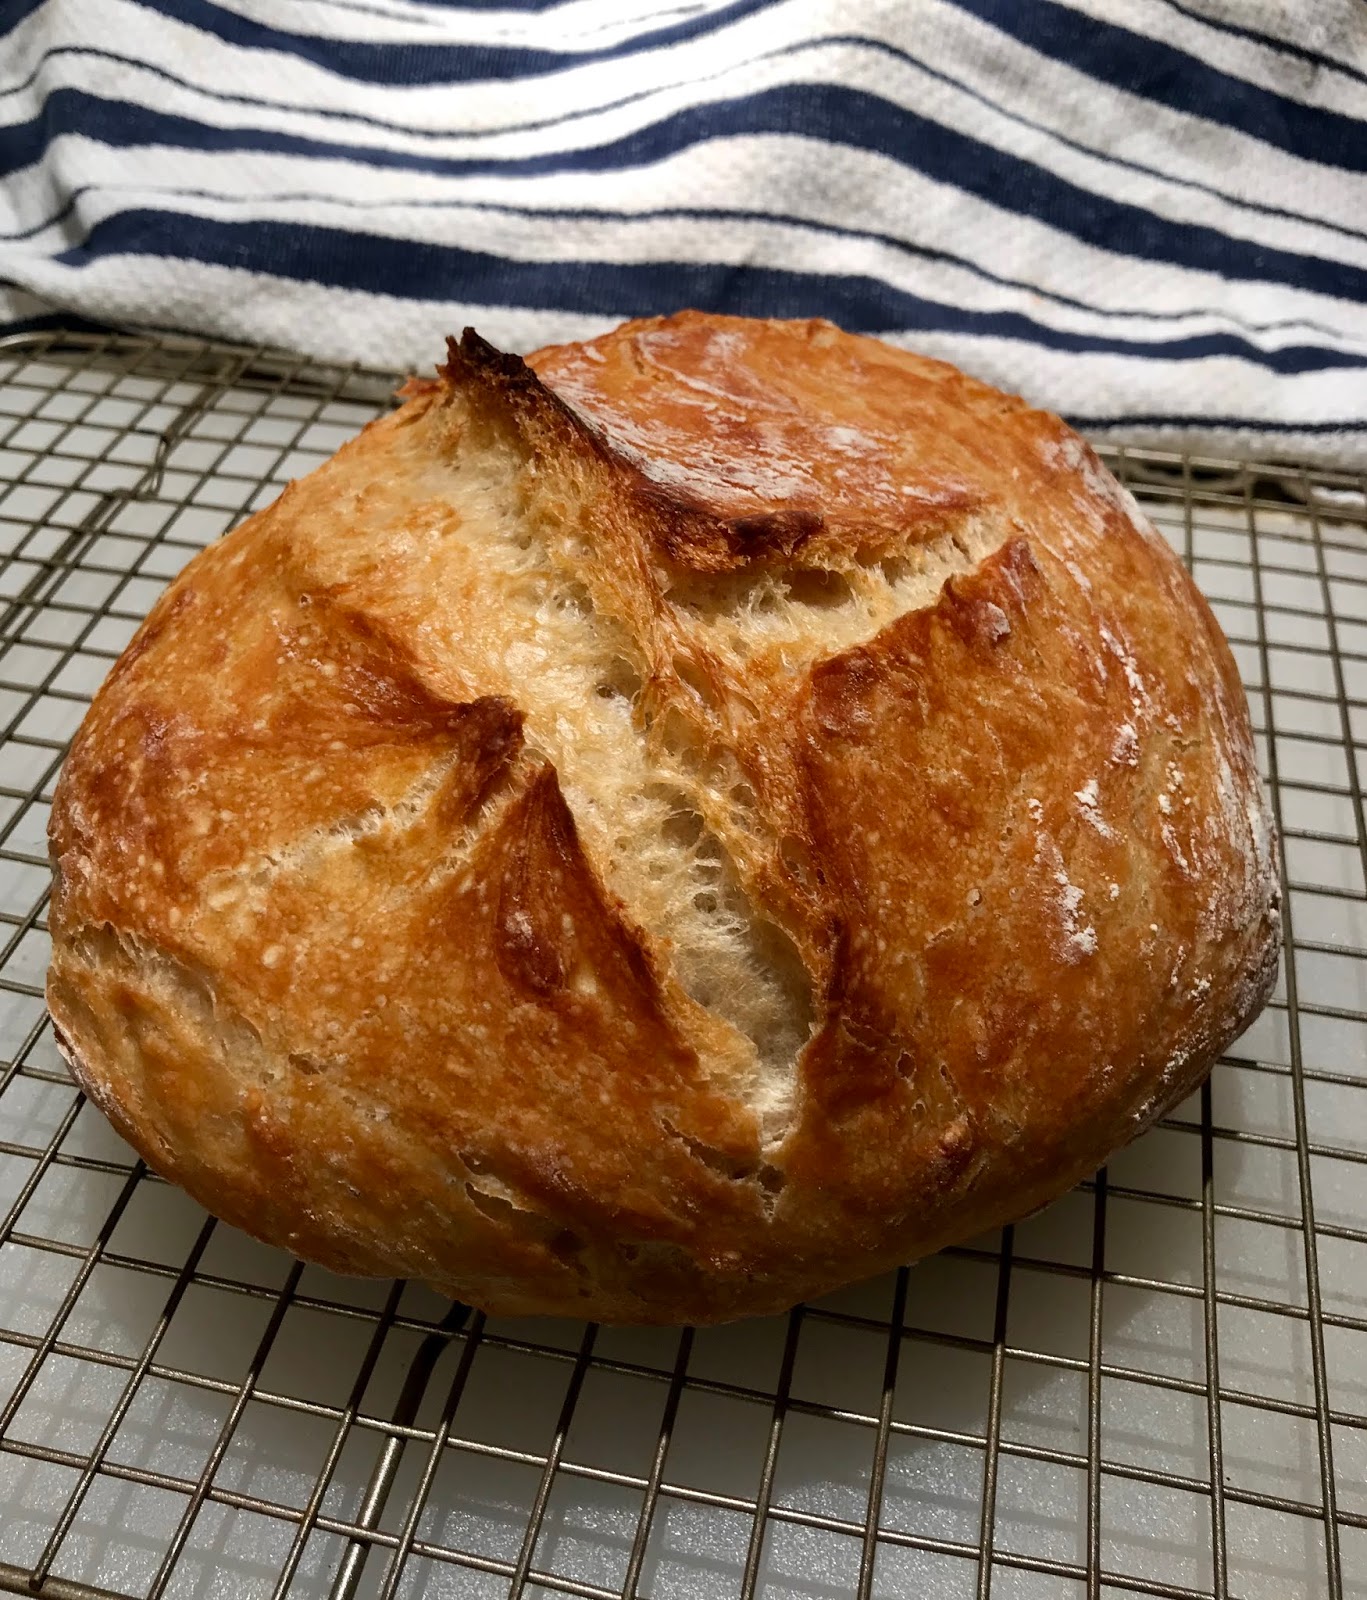
Then remove the lid and bake for another 15 until the bread is browned and beautiful.

When ready, use a cloth and simply grab the bread out of the pot and place it on a wire rack to cool. Give it 10 minutes or longer to cool before cutting.

Many thanks to astackofdishes.com for their post, which I have slightly modified.

Biscuit Topped Apple Cobbler

This is a great way to use up any leftover apples or other fruit and handy if you’ve got some canned biscuits laying around as well.
Ingredients:
4 large Granny Smith Apples, peeled and cored. Cut into 1 inch pieces.
4 Tbsp Butter
1 tsp Cinnamon
1/2 tsp Nutmeg
1/2 cup Sugar
2 tsp Vanilla Extract
Pinch of Salt
1 can of Flaky Biscuits
Topping:
1 Tbsp Butter
3 Tbsp Sugar
Preparation:
After peeling, coring and cutting the apples into 1 inch pieces, put them into a sauce pan with the 4 melted tablespoons of butter. Add a pinch of salt and allow them to soften and reduce.
Then add sugar, cinnamon, vanilla and nutmeg. Continue cooking until slightly thickened. If you find they are not sufficiently thickened, add a cornstarch slurry and continue cooking. You make a slurry by adding 1 tsp of cornstarch with 2 tsp of water and mixing together. Once at desired thickness, pour into a pie dish/pan to cool. A square Pyrex can work as well
Preheat your oven to 350F. Open your can of biscuits and cut each biscuit into quarters and arrange on top. Sprinkle with remaining sugar and dot with butter. Bake for 18-20 minutes or until biscuit topping is nicely browned.

Pasta alla’Amatrice

This was a speciality of Florence’s in Boston’s North End. Sadly Florence passed away and the original restaurant closed in 2015. I like the idea of keeping the dish alive. I’ve heard they’ve reopened as the Florentine Cafe.


After I moved away from Boston, I tried to recreate Florence’s recipe, and I think this is very close to the original. This sauce can be made thicker and more concentrated by just using one can of tomatoes. It’s your choice.
 
For the purists, they would likely disagree that this is the famous pasta from the town of Amatrice. However I like both. If you want to sample the “real” dish from Amatrice, here is a link. https://www.ciaoitalia.com/seasons/season-2300/episode-2316/pasta-allamatrice

Ingredients:

 
1 large finely chopped Onion
5 cloves of Garlic, finely chopped
½ lb. Pancetta (Italian Slab Bacon), either cut into ¼ inch cubes or ¼ inch strips 
2- 28 oz. cans of crushed Tomatoes, or whole tomatoes that are lightly chopped in the processor. San Marzano’s are the best.
3 tsp. Red Pepper flakes or a few whole red chili peppers – Optional
2 Tbsp. Butter
Few grindings of fresh Nutmeg
Salt and freshly ground Black Pepper
Grated Romano and/or Parmesan Cheese
Pasta of choice. Bucatini is traditional, but I use penne.
 
Preparation:
 
Melt the butter over medium heat, and add the pancetta. After the pancetta starts to release it’s aroma and renders down, add the onion, garlic, and cook until translucent. 
 
Now add the nutmeg, red pepper flakes and the salt and pepper. You want to just let the mixture sauté gently until it smells fantastic, usually about 5 to 10 minutes over medium heat. 
 
Then add the tomatoes, bring it back to a simmer, and let it slowly cook. After 1 to 2 hours, you will have an amazing rich sauce, which is perfect with any tube pasta. Florence always served it with penne, so I do the same. 
 
Before you add the sauce, always sprinkle your grated cheese over the drained pasta, toss and then add the sauce and toss again, and then add more Parmesan cheese. Tossing is the key to a well-made pasta dish.

Risotto alla Parmigiano Reggiano, the perfect rice dish?

Risotto is one of the most amazing dishes known to man. It is a simple combination of butter, stock and rice, which when properly prepared rises to an art form.
Many people do not know this, but in Italy rice is raised in the north in two main areas, the Piemonte (think Milan and Turin) and the Veneto, which is the area of Venice.

The north of Italy has always been more of a rice centric region while the south was more of a pasta centric region. While not complicated to make, for an authentic risotto, the ingredients and cooking process must be followed carefully. I have seen many variations on this theme, but a basic recipe is a good place to start.
There are a few things you must remember to make a good risotto:
Only use true Italian Carnaroli or Vialone Nano rice, other rice just doesn’t give equal results. If you’re in a pinch, medium grain rice will give you vastly superior results to long grain rice, but it’s not quite the same. These rices can be purchased in most grocery stores, but can also be ordered online.
Use weak stock, as the constant cycle of reducing will concentrate the flavor. I prefer stock at about one quarter strength. You don’t want to use a stock with garlic in it, as you will be reducing this stock down and thus any predominant flavor will definitely over power the final dish.
Always have bit more stock than you think you’ll need simmering beside you. If you run out of broth, just substitute some warm water.
Make sure that the stock is handy to the cooking area, and simmering before you start. If your right handed, keep the simmering stock to your right, and if your left handed vice versa.
Note:  Once you begin the risotto, keep stirring. Now is not a good time to be distracted, as it will burn or scorch very quickly.
 
This is the mother recipe for most risottos, and is the basic one that allows you to create the many variations.

Ingredients: 

4 to 6 cups of weak Vegetable or meat based stock
3 Tbsp. Butter
2 Tbsp. Vegetable Oil, don’t use extra virgin olive oil as the flavor is too strong
2 cups Arborio Rice
4 Tbsp. finely chopped white Onion.
½ cup Parmesan Reggiano
Preparation:
First begin by melting 2 Tbsp. of the butter and all of the oil in a heavy saucepan. Then sauté the onion until it becomes clear. Do not let it brown.
Using medium heat, add the rice and stirring constantly, sauté it for 1 min. until it is completely coated with the oil and butter mixture.
Using a ladle, start adding in the simmering stock, ½ to ¾ cup at a time. Stir constantly until the stock is absorbed and then add more.
Continue the cycle until the rice is soft but still “al dente” Normally about 20 minutes, maybe more depending on the rice and temperature.
Now, turn off the heat, add the rest of the butter, the Parmesan cheese and then salt and pepper to taste. Mix thoroughly.
Serve in individual shallow bowls and serve immediately.  Risotto should not sit around until the other food is ready. Serve it as soon as it is finished. You may add additional cheese at the table.
Note: It makes a perfect secondi (pasta/rice) course prior to a main dish.